
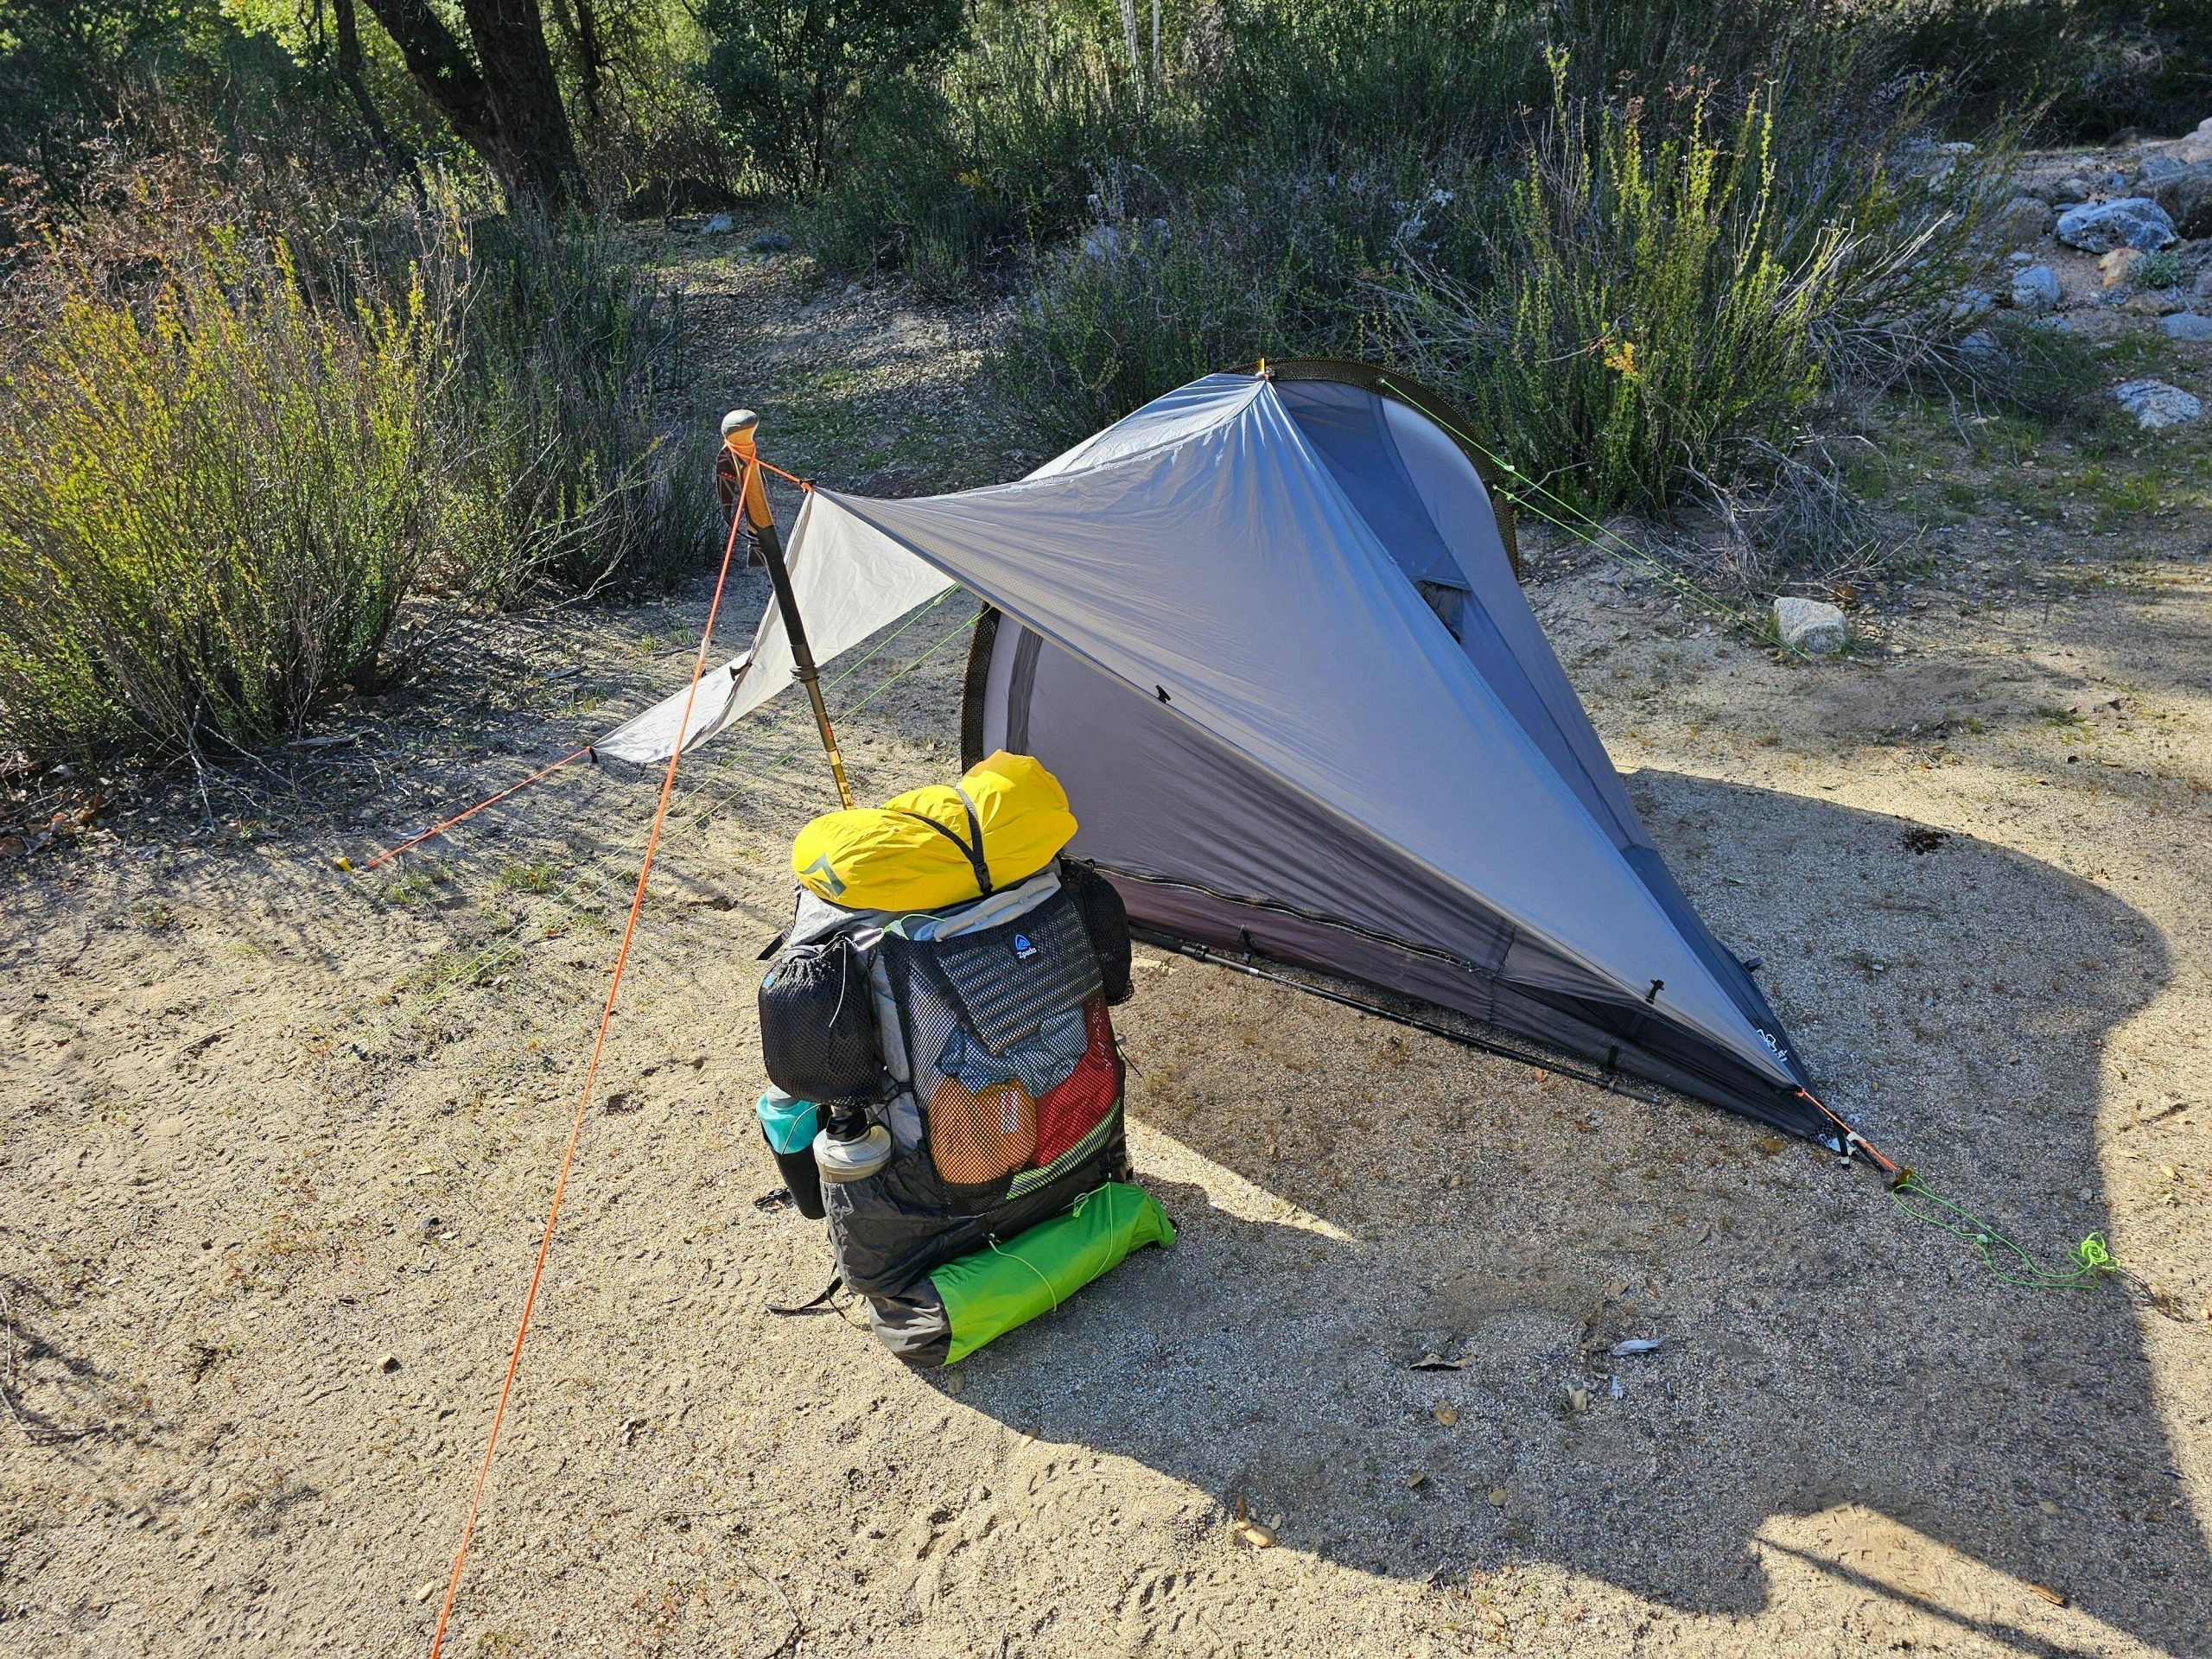
Problem: flysheet that fails when you need it most
Flysheets that are too short, too tight, or poorly pitched cause flapping, water ingress and wasted pack weight. That frustration is avoidable if you measure deliberately before you buy or sew. A neat kit can help you visualise the end result; a practical camping tent bundle made it easier when I adjusted seam allowances on several prototypes after field trials. While guiding multi-day traverses I tested fit on the Haute Route in the Swiss Alps using an ultralight backpacking tent 1 person, and that experience shaped the simple rules below.

Define the function before you measure
Decide what you expect the flysheet to do: full floor-to-ground protection, a vestibule for gear, or just rain cover. Each function changes the math. If you need a weatherproof vestibule, add length and overlap; if you want minimal weight, trade some coverage for a close fit. Be precise about what you need before taking any tape measure to fabric.
Measure the inner tent geometry—exactly
Set the inner tent on level ground and measure three dimensions: floor length (head to toe), floor width (widest point), and peak height (from floor centre to highest pole point). Record measurements in centimetres or inches and include seam-to-seam points, not fabric edges. For ridge or tunnel tents, measure the arc of the pole where the flysheet must cover curved structure rather than a straight line.

Account for overlap and vestibule space
Allow overlap on all sides so the flysheet seals at the ground and covers doors. Practical allowances: 10–20 cm per side for side flaps; 30–60 cm beyond the inner tent door for a usable vestibule on a one-person tent. For tunnel-style vestibules, add the distance from pole tip to the desired foot-end shelter. Write the final flysheet length and width as inner measurement plus the allowances you chose.
Factor in pitch angle, sag and pole compression
Fabric stretches and poles bend under load. Measure the tent as you intend to pitch it (steeper angles for runoff reduce horizontal coverage). Add 1–3% extra to linear measurements to accommodate wet fabric sag; add a small allowance for pole compression where poles are telescopic. If guylines will be used to tension the flysheet, note anchor points and include them in the plan.
Map attachment points and seams
Mark where the flysheet will fasten to buckles, clips or tie-outs. Measure from the inner tent seams to each attachment and transfer those distances to the flysheet plan. Keep fastening strips slightly offset from the main waterproof panels so seam tape doesn’t sit directly under stress points. Label each point on your pattern; mismatched attachment locations are the common cause of a crooked flysheet.
Material choice and technical limits
Match fabric weight and waterproof rating to your needs. For lightweight solo tents, choose a durable, low-stretch fabric and check its hydrostatic head rating if you expect heavy rain. Lighter fabrics save grams but increase the need for precise tensioning. Reinforce corners and tie-out areas with stronger fabric or patches; that prevents tears where the flysheet bears load.
Common mistakes to avoid
Do not measure along a flat laid seam and assume it will match the pitched shape; curved builds change effective length. Avoid zero allowance for seams and hems—each hem reduces usable coverage. Don’t assume manufacturer specs match user setup; measure your actual pitched tent. Finally, don’t ignore guyline geometry—improperly placed guylines turn a good flysheet into a noisy sail.
Alternatives and quick fixes
Options when a custom flysheet isn’t desirable: buy a purpose-made replacement that matches your tent model, use a tailored tarp with overlapping ties, or add vestibule extenders that clip on. Evaluate weight, pack size and setup complexity. For lightweight solo trips, a small vestibule extension often gives the best trade-off between protection and grams added.
Practical checklist before finalising
Confirm: inner tent dims recorded, overlap and vestibule allowances chosen, attachment points measured and labeled, material selected and reinforcement planned. Test with a mock pitch if possible. One dry-setup and one wet-setup test will reveal most fit issues before you cut fabric or commit to a purchase.
Where this leads you
Measure with intent; add allowances deliberately; test in the field. Accurate measurements reduce surprises and preserve pack weight. If your goal is a simple, reliable setup, the measured approach above pairs well with ready kits and tested designs from THECATAL, which reflect the same practical tolerances and field-tested choices that keep one-person ultralight shelters working when conditions turn.